Introduction:
In a world increasingly focused on sustainability and reducing waste, creative individuals are constantly finding new ways to repurpose everyday items. One such item that often finds its way into the trash bin is the humble milk carton. However, with a little creativity and ingenuity, you can easily transform a discarded milk carton into a functional and stylish wallet. In this article, we’ll explore a step-by-step guide on how to turn a milk carton into a wallet, combining environmental consciousness with practicality.
Step 1: Gather Materials
The first step in this DIY project is to gather the necessary materials. You’ll need an empty milk carton, a pair of scissors, a ruler, a pencil, some adhesive material such as glue or double-sided tape, and any additional decorations or embellishments you’d like to add to personalize your wallet.
Step 2: Prepare the Milk Carton
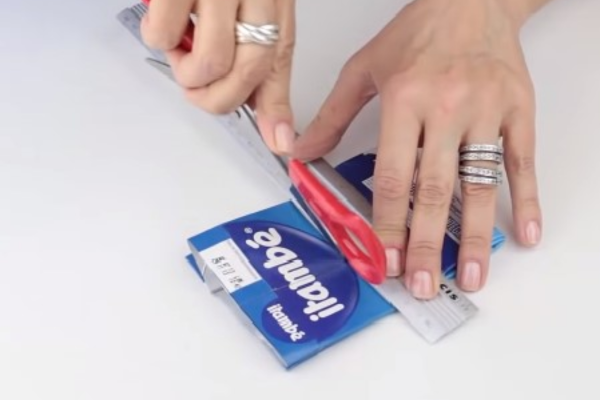
Start by thoroughly cleaning and drying the milk carton to remove any remaining milk residue or odor. Once clean, use your scissors to carefully cut open the top and bottom flaps of the carton, creating a flat, rectangular shape. Flatten the carton completely to make it easier to work with.
Step 3: Measure and Cut
Using your ruler and pencil, measure and mark the desired dimensions for your wallet on the flattened milk carton. Typically, a wallet size would be around 8 inches long and 3.5 inches wide, but feel free to adjust the measurements to suit your preferences. Once marked, carefully cut along the lines to create the main body of your wallet.
Step 4: Create Pockets and Card Slots
To mimic the functionality of a traditional wallet, you’ll want to create pockets and card slots to hold your cash, cards, and other essentials. Use your ruler and pencil to mark where you want the pockets to be located on the inside of the wallet. Then, carefully cut along these markings, leaving enough space to hold items securely. You can also create card slots by making vertical cuts along one side of the wallet.
Step 5: Assemble and Decorate
Once you’ve cut out all the necessary pieces, it’s time to assemble your wallet. Fold the main body of the wallet along the designated fold lines and use adhesive material to secure the sides and pockets in place. You can reinforce the edges with additional tape or glue for extra durability. Finally, unleash your creativity by decorating your wallet with stickers, fabric scraps, paint, or any other embellishments that reflect your personal style.
Step 6: Let It Dry and Enjoy
Allow your newly crafted milk carton wallet to dry completely before using it to ensure that all adhesive materials have set properly. Once dry, your eco-friendly wallet is ready to use! Not only have you successfully repurposed a discarded milk carton, but you’ve also created a unique and sustainable accessory that’s sure to turn heads wherever you go.
Conclusion:
Turning a milk carton into a wallet is not only a fun and creative DIY project but also a meaningful way to reduce waste and contribute to a more sustainable future. By giving new life to items that would otherwise end up in landfills, we can all play a part in protecting the environment and conserving valuable resources. So why not grab a few empty milk cartons and get crafting? Who knows, your next favorite accessory might just be hiding in your recycling bin!


